Working with Azure Building Blocks
In a previous series of blog posts, I started exploring Azure Resource Manager (ARM) as a tool for automating the deployments of resources within Azure. ARM is, as far as I can tell, a great tool. The problem with using ARM is its complicated to use. I can’t claim to have really mastered the art of deploying resources in Azure with ARM myself. Hopefully in the fairly near future I'll have an Azure project that will force me to figure out the more advanced features and functionality for ARM.
Until then, I have been looking for an easier way for me to automate Azure resource deployments. This search lead me across Azure Building Blocks, a recently updated tool that makes ARM deployments much more manageable for those of us who are more server admins than we are JSON programmers.
What is Azure Building Blocks?
Azure Building Blocks is a command line tool accompanied by a set of ARM templates that is designed to simplify the process of ARM deployments for those who lack the skills for full arm deployments.
Azure Building Blocks isn’t PowerShell or Azure Resource Manager. While it is going to take some investment of time on your part to learn, using Azure Build Blocks is considerably less complex than using ARM directly.
Azure Building Blocks still users the same resource templates that you’d use for ARM deployments, and those are complicated to figure out. The difference with Azure Building Blocks is that the deployment process itself is much simpler.
As of this writing, there are Azure Building Blocks templates in place to assist with the deployment of the following resources:
- Virtual Networks
- Virtual Machines (including load balancers)
- Virtual Machine Extensions
- Route Tables
- Network Security Groups
- Virtual Network Gateways
- Virtual Network Connections
This should be enough to get most IT pros up and going with Azure resource deployments.
Installing Azure Building Blocks
Installing and configuring Azure Building Blocks isn’t very complex, but there are a few steps that are not obvious.
- Install the Azure Command Line Interface. The Azure CLI can be downloaded and installed from HERE. On my Windows 10 laptop, it was a very simple install.
- Install Node.js HERE. Again, the install on Windows 10 was super simple.
- Launch a command prompt.
- Create a new directory for Azure Building Blocks. I create a directory called ABB.
- In your newly created directory, run the following command:
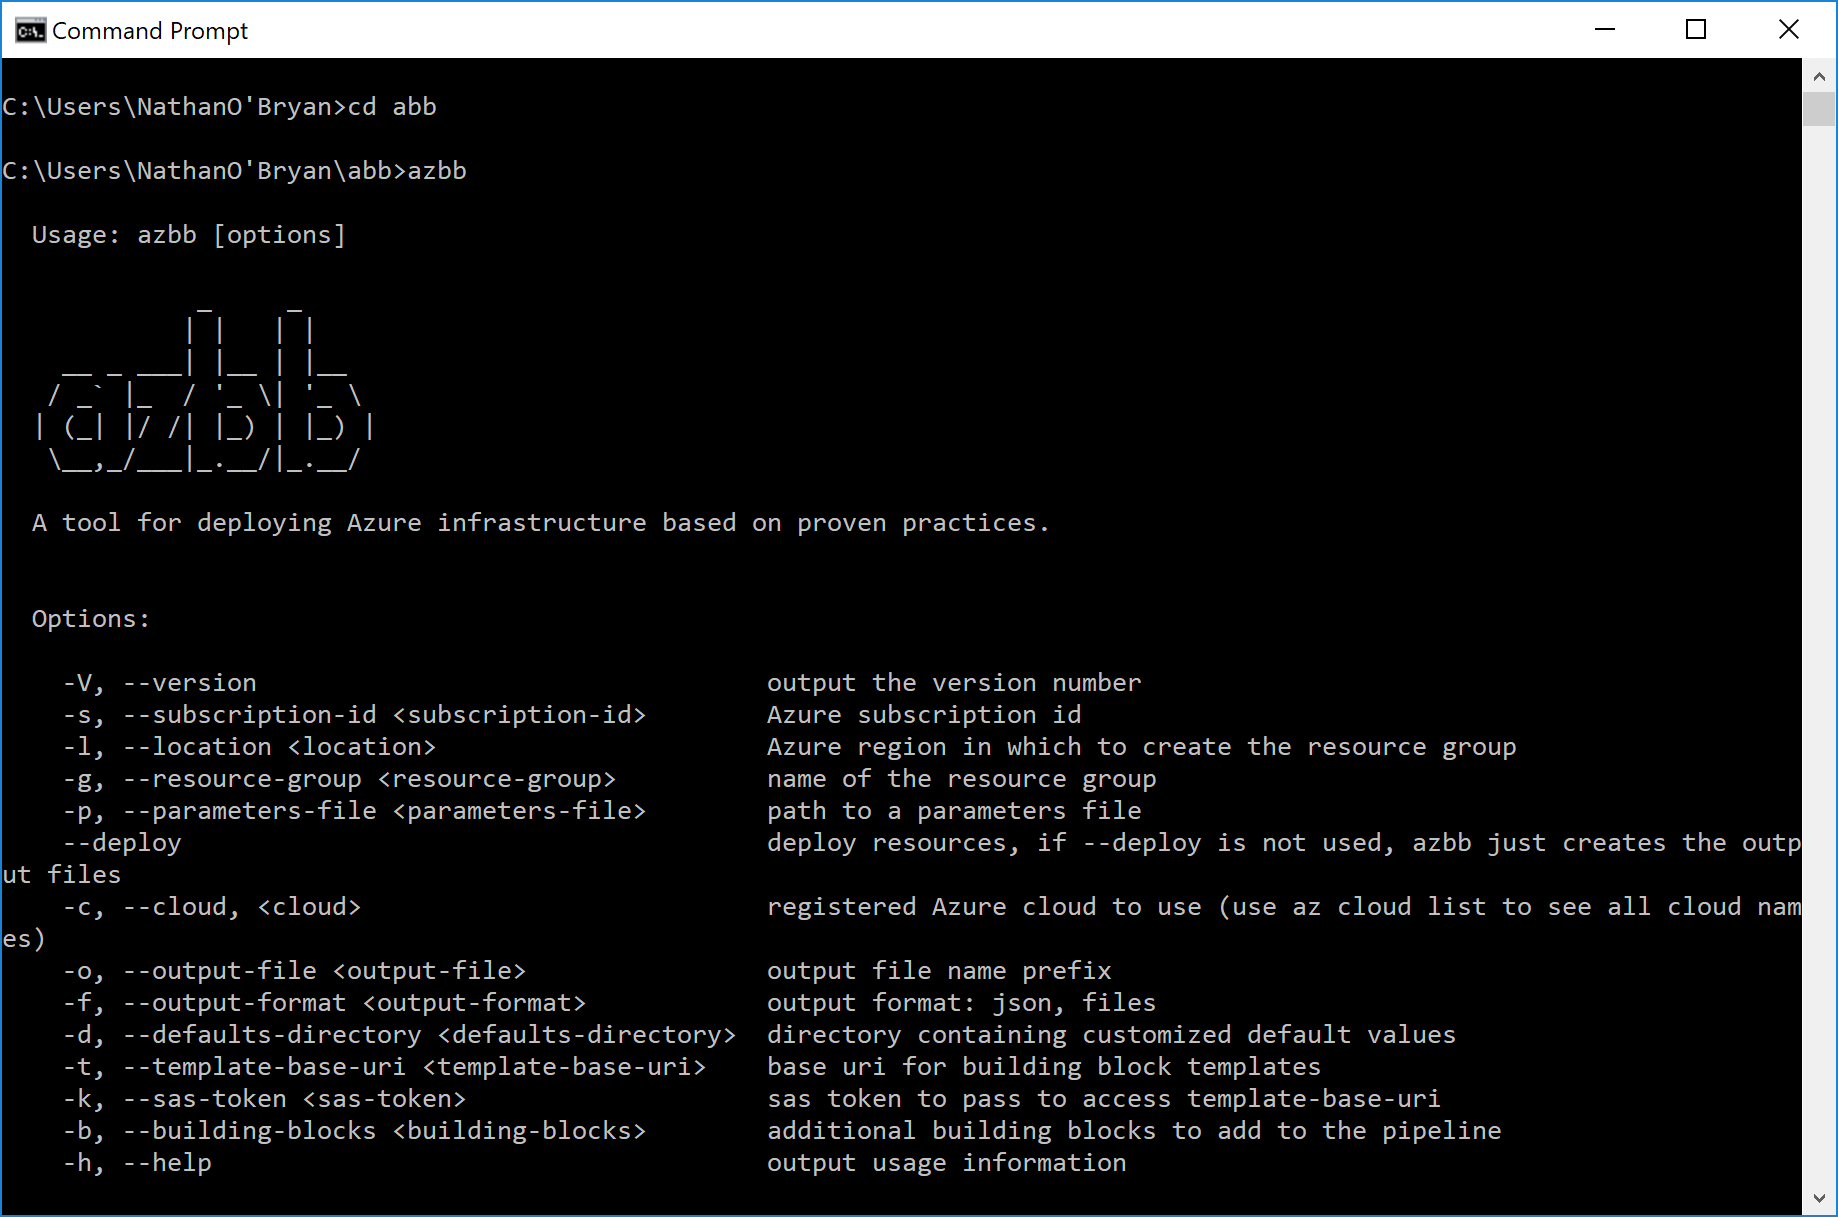
npm install -g @mspnp/azure-building-blocksAfter the install completes, you can test to ensure everything is working properly by running the command “azbb” in the command line.
If your install worked properly, you should see the following
Getting started with Azure Building Blocks
Once you have Azure Building Blocks installed, you can start working with templates and deploying resources.
The first step is to create and Azure Building Blocks parameter file. I’m not going to go into too much detail on these parameters files in this blog post, but we’ll go over enough to get you started. Once you get the basics down, you can download pre-configured parameter files from GitHub. Those parameter files are available HERE.
To work with these parameter files, you’ll want to install Visual Studio Code. This is a lite version of Visual Studio, and it works great for our purposes here. Visual Studio Code can be downloaded from HERE.
To create your first JSON template file, follow the steps below
- Create a folder to store your settings templates. I created a folder called “settingsfiles” under my abb directory.
- Open Visual Studio Code and under the file menu open that folder.
- Create a new file with File > New File and paste the below JSON into that file
 {
  "$schema": "https://raw.githubusercontent.com/mspnp/template-building-blocks/master/schemas/buildingBlocks.json",
  "contentVersion": "1.0.0.0",
  "parameters" : {
    "buildingBlocks": {
      "value": [
        {}
      ]
    }
  }
}
This file will serve as your base template for Azure Building Blocks. Adding values to the BuildingBlocks array will be the primary way we deploy resources into Azure. It’s important to note that those resources must be entered in the proper order. Additionally, JSON is case sensitive so it is important that we enter the values with the proper capitalization. Values entered incorrectly will be ignored.
Adding resources to our template
Now that we have the basic template in place, we can add some configurations for resource deployment. All resources are added into the VALUE section of our template.
In this blog post, I’m not going to focus on the JSON necessary to build your own template files. Instead I’m going to point you to the GitHub resource repository for Azure Building Blocks.
In that repository there are many templates that you can use. For now, just choose one to use for your test deployment. We’ll work on customizing a template file to meet your specific needs in a future blog post.
Executing a template with Azure Building Blocks
Once you have your template ready, Azure Building Blocks makes it very easy to execute. This is really the big advantage to deploying resources with Azure Building Blocks. You still have to have the same JSON template file that you’d need for a Azure Resource Manager deployment, but once you have that template Azure Building Blocks makes the deployment much easier.
To deploy your template with Azure Building Blocks, simply launch the command like tool as demonstrated at the top of this post, then run the following command:
azbb -g [resource group] -s [subscription id] -l [region] -p [settings file] --deployAs you can see, there are some switches that you need to add to that command. The switch “-g” is used to designate the resource group to which your resources will be added. This can be an existing resource group, but if the resource group you designate does not already exist it will be created.
The “-s” switch is used to add your Azure subscription ID. Your subscription ID can be found in the Azure portal under the subscriptions blade. The “-l” switch is used to designate the region in which you are deploying these resources. Finally, the “-p” switch is used to designate the path to your settings template. All of these switches are required.
Wrapping it up
That is all you need for the basics of deploying resources to Azure using Azure Building Blocks. Of course, much of the real magic is still in the JSON template file, and there is a lot for us to cover building those.
For now, I’m going to relay on pre-existing JSON templates that have already available on GitHub. In future blog posts, I’ll go over the process of finding the template you need and how you can modify it to meet your specific needs.